Roofing Repair Tips For Homeowners
Unlike painting a room or installing new cabinets, roof repair is one of the most significant forms of maintenance a homeowner can perform. Little granules in the gutter, leaking around skylights or chimney seals and cracked vent booting are all indicators that the roof should be repaired. First, locate the damaged portion of the roof. This can be done by running a garden hose up on the roof and looking for leak locations.
 When shingles are damaged, you must replace them immediately to prevent further leaks and more costly repairs. Roofing can do this for you, but it’s also a project many homeowners can complete independently. You’ll need a few supplies: a flat bar, asphalt roofing cement, replacement shingles and roofing nails.
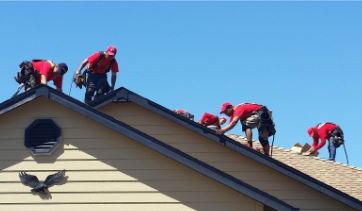
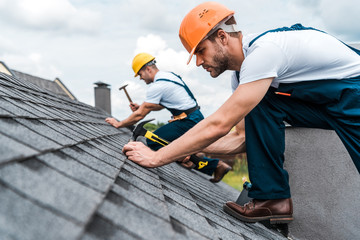
If you are a roofer, you know that severe storms can cause shingle damage. Whether it’s caused by high winds, heavy hail, or flying debris, sudden and severe storms can affect every single shingle on your home’s roof.
Begin by removing any loose shingles with the flat bar. Then, spread a thin layer of roofing cement on the back of the damaged shingle. Next, lay a brick on the shingle to act as a weight while the roofing cement dries.
After the shingle is dry, you can nail it down using new roofing nails. If the damaged shingle is part of a two-course row, you’ll need to lift up the undamaged shingles above it to expose the nails in that second row. Use the pry bar to loosen the adhesive under the tabs of the shingles that are two rows above the damaged shingle (Photo 2). You’ll need to remove the nails from each of these shingles to free up the row above the damaged shingle and the damaged shingle.
Continue to loosen the shingles above and below the damaged shingle, pulling up enough to expose the nails in each of the first two rows. You can use a flat bar, crowbar or the claw of your hammer to do this. You can also simply tap the shingles with the back of your hammer to break up the adhesive and reveal the nails.
Depending on the condition of the shingle, you might be able to replace only the strip or tab that is damaged. If you must replace the entire shingle, place the replacement shingle under the shingle above it, making sure it is secured with a pair of roofing nails. A dab of roofing cement on the top side of the shingle helps to seal it to the roof and help hold the new nail in place.
Leaking Gutters
Having leaking gutters can cause major problems for your home. Water dripping from gutters can erode your roof fascia, stain your siding, and create basement flooding and wood rot. You can avoid these costly repairs by knowing when your gutters are leaking and how to fix them.
Gutter leaks usually occur in the joints or seams of your gutter system. To repair these leaks, you’ll need to carefully prepare the area by cleaning it of debris and removing old caulk or sealant with a putty knife. You’ll also need to purchase a commercial-grade gutter sealant that is formulated to work in exterior conditions. Ideally, the sealant should be flexible and resistant to weather changes and UV radiation. Once you’ve prepared the area, apply the sealant to the gutter seams or joints and force it into place with steady pressure. Allow the sealant to dry thoroughly before using your gutters again.
Leaks can also happen when your gutter is punctured by a falling tree limb, a satellite dish or antenna mounting bracket, or by a nail driven straight through the bottom of the gutter. In these cases, it’s often possible to repair a punctured gutter by replacing the hole with a metal patch. Alternatively, you can use roofing cement to fill in the hole and make it waterproof.
Loose gutter fasteners may also cause leaking, particularly if the gutter is hung by nails or screws. Typically, loose gutter fasteners are caused by corrosion from the elements and from age. You can replace the screws or nails with new ones, or you can simply tighten them.
Lastly, gutters can develop a leaking problem when their slope is not adequate to guide rainwater down the downspouts and away from your house. Usually, a professional roofing technician can fix this issue by rehanging the gutters.
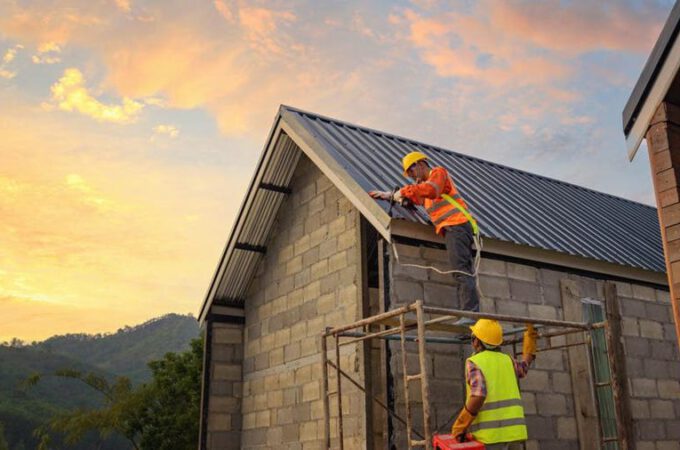
While it’s important to check your roof for damage and leaks, it’s even more crucial to prevent these problems from occurring in the first place. The best way to do this is by hiring a reputable roofing contractor who offers maintenance services. Ask for recommendations from friends and neighbors and read online reviews to determine whether a particular company has provided quality service in the past.
Damaged Ridge Caps
Roof ridge caps are often the first part of your roof to show signs of wear and tear. Regular roof inspections are crucial in identifying and fixing roofing issues before they cause extensive damage. Ridge caps are important because they cover the gaps between roof materials at the ridgeline of your roof and prevent leaks. If your ridge cap is damaged, it can be repaired quickly with a few simple steps.
A ridge cap is made from shingles or metal capping rolls and is placed on the top of the ridgeline of your roof. A ridge vent can also be installed under the ridge cap to further prevent leaks and extend the life of your roof.
Ridge caps are nailed down with either nails or roofing screws. Depending on the type of roof you have, there are several different types of ridge caps that are available. Some ridge caps are a little more expensive than others, but all will provide protection to the ridge line of your roof.
When a ridge cap is damaged, it can be very difficult to spot the problem from the ground or inside your home. The best way to detect a problem with your ridge cap is to have it inspected by a professional roofer. If you notice any signs of damage to your ridge cap, it is essential to have it repaired right away.
Depending on the size of your roof, it may be necessary to replace all or parts of your ridge cap. The cost of replacing the entire ridge cap will vary, but it is usually less expensive than replacing a single shingle. A new ridge cap can be installed quickly and easily by following the same process as repairing one shingle.
Before you install a new ridge cap, you should use a piece of chalk to mark the two ends on the roof peak. Next, put down a strip of sealant tape around 1 inch above the chalk lines and set down the closure strips. Finally, apply another strip of sealant tape on the ridge cap, center it and press it firmly down onto the closure strips.
Damaged Roof Tails
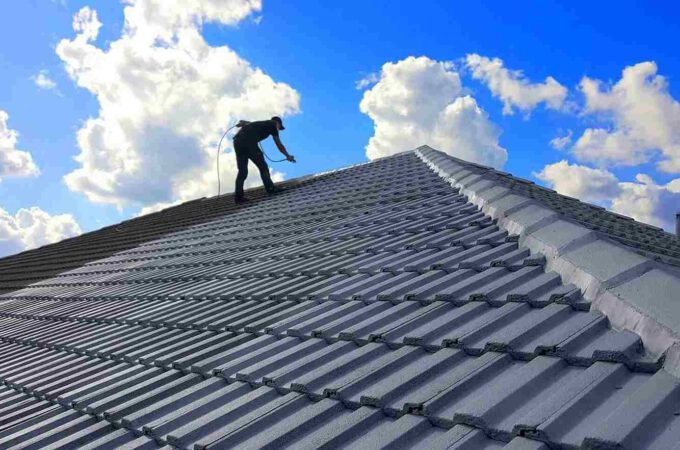
When roof tiles become damaged they can be repaired or replaced in a variety of ways. It is important to remember that the tile itself provides only a small percentage of the water proof protection of the roof and that the majority of this protection comes from the building paper or felt under it. This means that while the roof tiles need to be protected they should not necessarily be replaced as often as the other components of the roof.
Generally roof tiles are damaged by debris falling on the roof, wind damage, freezing weather stresses, heat and water stress or accidental damage by people working on or near the roof. Frequently this results in individual tiles becoming damaged but these can be repaired, adjusted or even camouflaged.
If roof tiles are damaged it is important to repair them as soon as possible because long periods of shattered tiles can decrease the protective qualities and aesthetic of the roof. Also water leaks from damaged tiles can wet expensive insulation and stain ceilings, walls and carpets.
In the event of a serious leak or severe damage it is recommended that the affected roof structure be inspected by a professional roofer. This will ensure that the cause of the leak is identified and that the necessary repairs are made.
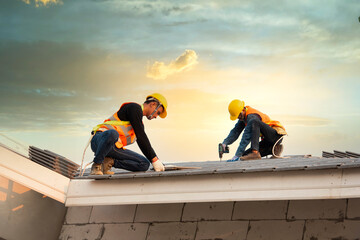
Before attempting a DIY roof repair it is strongly recommended that you obtain and use a good quality ladder that will provide the safe working height required. It is also recommended that you wear a harness when working at height to ensure your safety. It is also recommended that you make sure that all the tools and materials that you will require for the job are within easy reach.
To repair a cracked or damaged roof tile, first place a piece of galvanized metal flashing over the area to be covered and then push the broken tile up under it. This can be done with the help of a flat pry bar or a hammer. If the damaged tile is a single tile it can be lifted up and placed in a new position with roofing cement. If the damaged tile is part of a group it will need to be cut out and then a replacement tile can be fitted.