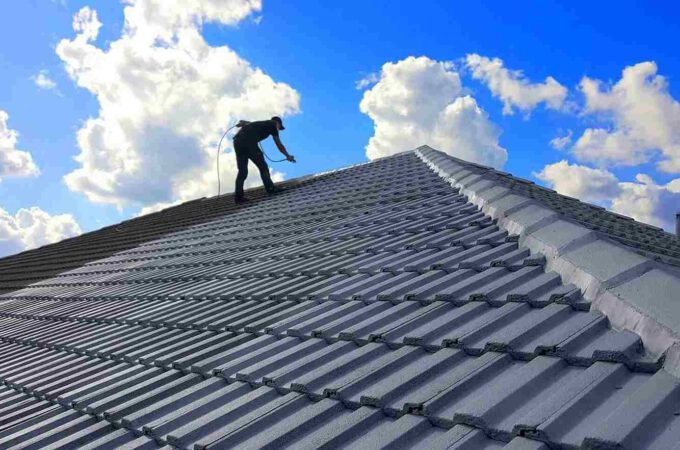

How to Install Shingles on Roofing
If you plan to put a new roof on your home, you will want to do it correctly. The best way to do this is to hire Roofingwho knows how to do it correctly.
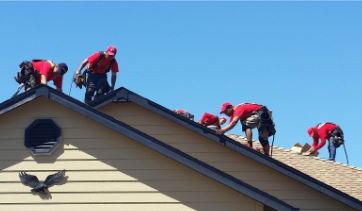
Installing shingles on roofing is a complex process requiring much planning and precaution. You must make sure you follow the manufacturer’s instructions. This includes choosing the right shingle, paying attention to the weather forecast, and installing shingles in a timely manner.
First, you’ll want to determine how large your roof is. You can do this by measuring the length of the roof and multiplying it by the width. If you’re unsure, you can get a rough idea by asking the staff at your hardware store.
You should also consider a water-leak barrier to prevent ice from leaking through your shingles. In addition to preventing ice dams, this membrane doubles as a moisture barrier. It should be installed on both the upper and lower edge of the roof.
Before you begin, you’ll need to clear away any debris from your roof. A stiff-bristled broom is a good tool for sweeping up loose particles. After removing debris, you can start laying out the shingles.
Using a chalk line is a good way to draw straight lines. Make sure to snap horizontal lines along the bottoms of the shingles to ensure the rows are uniform.
Besides the obvious, you should also install protective rubber boots on the bottom of the shingles. This helps keep water from dripping into the house and causing damage to your outdoor grills and patio furniture.
Lastly, you’ll need to nail a drip edge around the edges of the roof. Do this with a 30 lb. of asphalt roofing felt paper.
There are plenty of other things you should do before you begin shingling, such as clearing away any debris and sweeping the roof. However, you should be aware that this type of work is noisy, so it is best to avoid doing it during high-wind days.
When you’re done, you’ll be able to enjoy your new roof! Of course, you’ll need to remember to warn your neighbors about the project.
A self-stick underlayment can be very helpful for installing a roof. When a self-adhered underlayment is used properly, it can provide excellent waterproofing and vapor barrier protection. It can also reduce the number of callbacks that need to be made. However, the installer needs to be sure that the underlayment is compatible with the substrate.
Some roofing materials, such as shingles, may not be suitable for use with a self-adhered underlayment. The adhesive on the underlayment can only be effective when the substrate is clean and free of dirt.
Moisture and condensation can also interfere with the adhesive properties of the membrane. This can happen when the roof is not properly vented or when the underlayment is installed over the wet substrate.
Before installing the underlayment, it’s important to read the installation instructions that the manufacturer provides. Also, check the manufacturer’s warranty. If you install the underlayment improperly, your warranty may be voided.
Before installing the underlayment, you should start at the bottom of the roof and work your way up. This ensures that the substrate isn’t wet. You should also make sure that the deck is clean and free of debris.
Once you’ve finished installing the underlayment, you should place it on the plastic side of the roof. Next, you should lay the underlayment with the paper backing against the roof. Ideally, you should apply sufficient pressure so that the underlayment establishes solid adhesion.
In addition, you need to keep the materials at the best working temperature. Generally, the underlayment should be installed when the air temperature is above 50 degrees Fahrenheit.
Self-adhered underlayments come in a variety of different forms. Some are certified by manufacturers and meet industry standards. Others are available in vertical versions. Many of them are chemically treated.
Installing a self-stick underlayment is fairly easy. However, you should follow the manufacturer’s instructions and avoid exposing the underlayment to temperatures beyond the manufacturer’s warranty. During the installation, you should pay special attention to the overlap areas. Typically, you’ll want to add four inches to the underlayment’s length to create a smooth, flat surface.